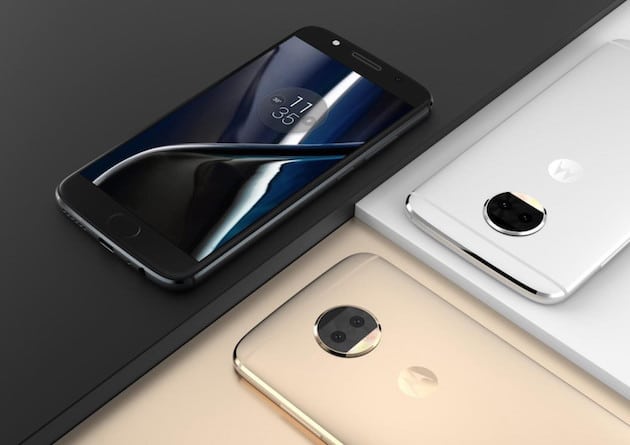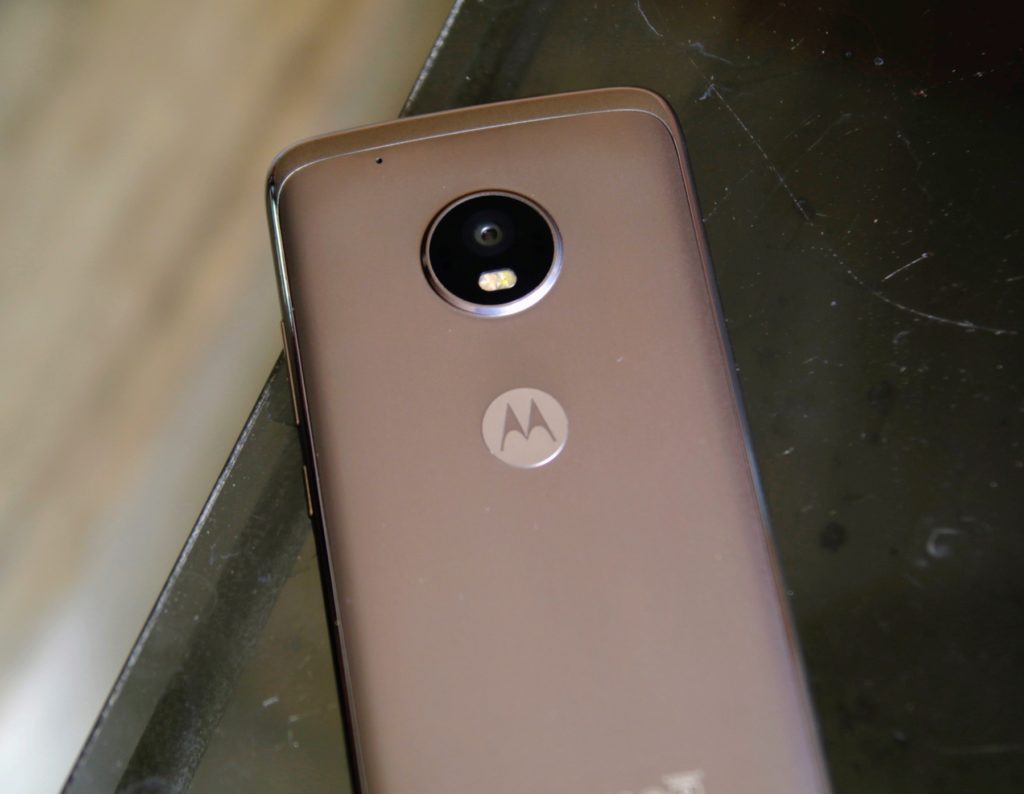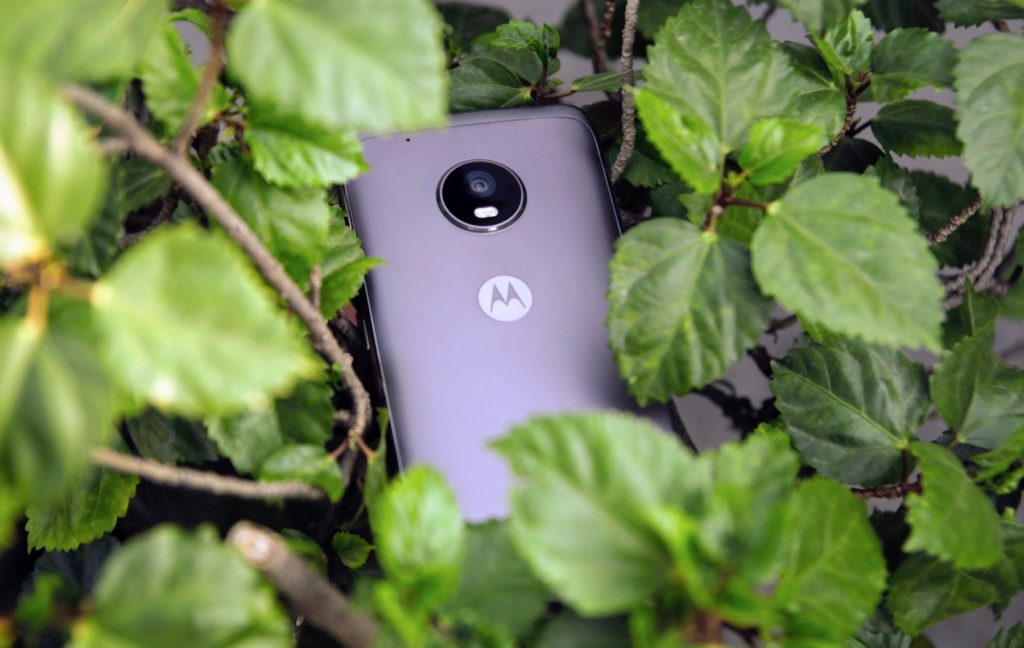
The Moto G5s and Moto G5s Plus are a ‘special’ edition upgrade over the existing Moto G5 and Moto G5 Plus. Both phones feature improvements in key areas over their predecessor that makes them worth a buy.
If you have already gotten your hands on the Moto G5s or Moto G5s Plus and are now looking for some tips to get the most out of these handsets, we have you covered. Check out some tips and tricks surrounding the handsets below which should help you in getting the most out of them.
Best Moto G5s and G5s Plus Tips and Tricks
Lock Apps Using Fingerprint Scanner
The Moto G5s and G5s Plus come with a fingerprint scanner at its front that can be used for quickly unlocking the device. Apart from One button nav feature, Moto has not used the fingerprint scanner on the handsets to offer any additional functionality like being able to lock installed apps on them.
Nonetheless, due to the presence of proper APIs, third-party apps like LastPass and 1Password are also able to take advantage of the fingerprint scanner for verification purposes. But did you know that you can also use the fingerprint scanner on the Moto G5 and G5 Plus to lock/unlock applications? Using an app called App Lock, you can lock apps and then only unlock them once your fingerprint is verified.
Read: How to lock apps using fingerprint scanner on your Android device
Customise Quick Settings
By default, the Quick Settings panel on the Moto G5s and Moto G5s Plus comes with 10 tiles for the most commonly used system settings. You can, however, customise the panel to remove or rearrange tiles or even add custom tiles for specific actions.
To customise the Quick Settings panel, expand it and tap the edit button — the pencil icon being displayed on the left of the Settings button. Once you have entered the edit mode, you can rearrange tiles by dragging and dropping them anywhere you like. Similarly, you can add new tiles by dragging them from the bottom section to the top. To add custom tiles, you will have to use third-party apps from the Play Store like Quick Settings Tiles.

Move Apps to SD Card
One of the key improvements in the Moto G5s and G5s Plus compared to their predecessor is in terms of storage space. Both handsets offer double the internal storage space compared to the Moto G5 and G5 Plus, respectively. The additional storage space — 32GB and 64GB — will go a long way in offering a good user experience as it will ensure that the handsets don’t run out of space after users install a few apps on them.
In case you are still running out of storage space on your Moto G5s or Moto G5s Plus, you can insert a microSD card in the device and move apps to SD card to them. The process is slightly more convoluted than before due to Adoptable storage, which is a useful feature to have once you get the hang of it.
You can find the steps to move apps to SD card and read all about Adoptable storage below.
Read: How to Move Apps to SD Card on Moto G5 and Moto G5 Plus
Gestures

Like the Moto G5 Plus and previous flagship Moto devices, Motorola has included a bunch of gestures on the Moto G5s and G5s Plus which can be used to speed up certain day-to-day tasks. This includes being able to quickly toggle the flashlight, launching the camera app, and more.
Below is a list of all the available gestures on the Moto G5s and G5s Plus:
- Twist for Quick Capture: Moto’s iconic screwdriver-like twisting gesture is present on both G5s variants to quickly open the camera app. The same gesture can be used to switch between the front and rear shooters with the camera app open
- Chop Chop: With the Moto G5s or G5s Plus in your hand, imitate the chopping gesture twice to quickly toggle flashlight on or off
- Stop ringing: Your phone will automatically stop ringing — but continue to vibrate — when you pick it up
- Do Not Disturb: You can quickly silence any incoming call or notification by putting the phone face down on a table
You can individually toggle each gesture on/off from Actions under the Moto app.
One Button Nav
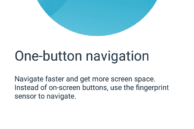
Similar to the Moto G5 and Moto G5 Plus, the Moto G5s and Moto G5s Plus feature on-screen navigation keys. Since they already come with a display that is smaller than their competition, the use of on-screen navigation bar means that the effective viewing area is reduced even further. With the new One button nav feature on the Moto G5 and G5 Plus though, you can easily hide the navigation bar to expand the effective viewing area.
The feature makes use of the fingerprint scanner in the front for navigating around the UI, with a swipe to the left on the scanner acting as a back button while a right swipe will bring up the Recent apps view. Tapping on the scanner will make it act like a home button. One button nav might seem a bit unintuitive at first, but once you get used to it, there is no going back. One button nav can be enabled from the Actions menu in the Moto app.
Change the Display Density
On numerous occasions before, I have expressed how much I love the ability to tweak the Display Density feature in Nougat. The feature allows one to tweak the amount of content being displayed on the screen. Selecting a smaller display density will lead to more content being displayed on the screen, while a higher density will lead to less content being displayed. Changing the display density is different from changing the font size since the UI size scales according to the display density.
To change the display density on your Moto G5s or Moto G5s Plus, head over to Settings -> Display size and depending on your preference, change it to ‘Small’ or ‘Larger’.

Night Display
Every phone nowadays comes with a Blue Light filter and Motorola is calling it Night Display on the Moto G5s and Moto G5s Plus. The Blue Light filter automatically changes the display color temperature to reduce the harmful blue light that is emitted from a smartphone display. This helps reduce eye strain and even helps one in falling asleep faster. You can set Night Display to automatically enable itself at a specific time every day or set it to start automatically after sunset and toggle itself off again at sunrise. If you are someone who uses their smartphone before going to bed, definitely make use of the Night Display feature as it can end up making a noticeable difference.

Moto Display
Moto Display first made its debut on the Moto X (2013) and since then the feature has become common in the company’s flagship and mid-range devices. However, if you receive a lot of notifications, Moto Display can get a bit irritating to have. Plus, privacy freaks will obviously don’t want their private emails or messages to be displayed on Moto Display.
Moto was smart enough to include certain customisation options in Moto Display for this exact same purposes. Open the Moto app and proceed to the Display section. Here, you will find options to customise the content and notifications being displayed from apps in Moto Display, including being able to block some of them altogether.
What are your favorite tips and tricks for the Moto G5s and Moto G5s Plus? Drop a comment and do share them with us.
