Acer phones
- Hold down the power and volume buttons for a couple of seconds.
- Scroll down the notification panel to reach quick settings; tap the Screenshot icon.
Asus Phones
- Hold down the power volume-down buttons for a couple of seconds.
- Scroll down the notification panel to reach quick settings; tap the Screenshot icon.
Google Phones
- Nexus: Hold down the power volume-down buttons for a couple of seconds.
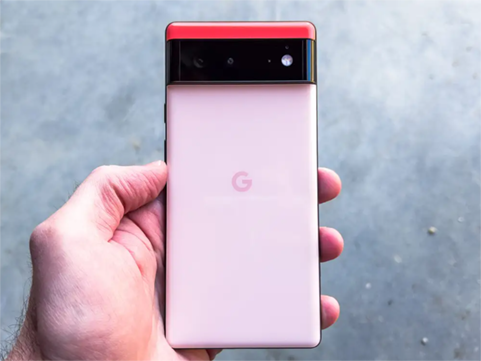
- Pixel: Hold down the power volume-down buttons for a couple of seconds.
HTC Phones
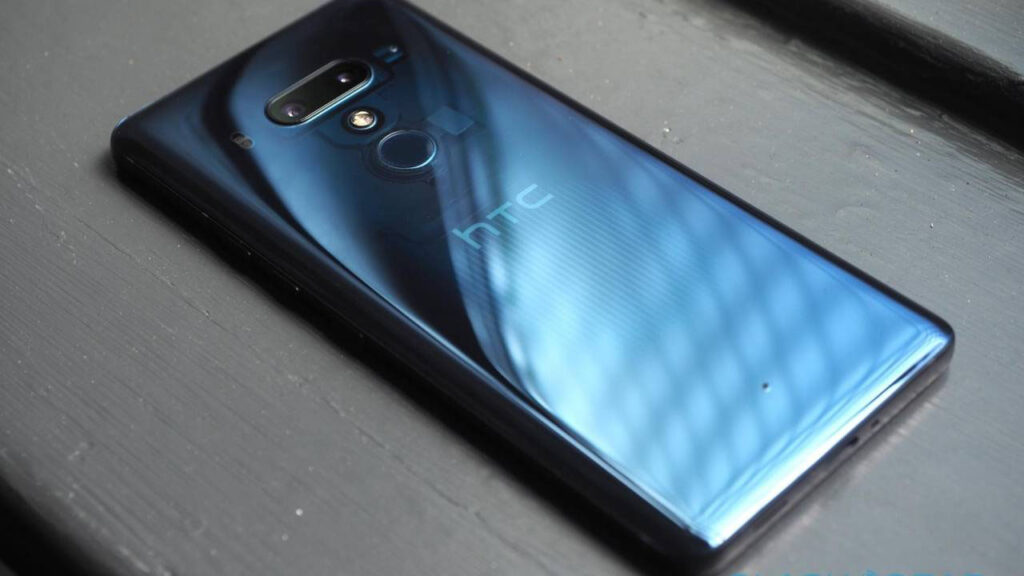
- HTC U12+: Press hold the power button until your phone vibrates, then tap the virtual home button on the navigation bar while still pressing the power button
- HTC U series (up to U12+): Hold the power volume-down buttons for a couple of seconds.
- HTC 10: Hold down the home power buttons or the power volume-down buttons for a couple of seconds.
- For all other HTC phones: Hold the power volume-down buttons for a couple of seconds.
Huawei Honor Phones
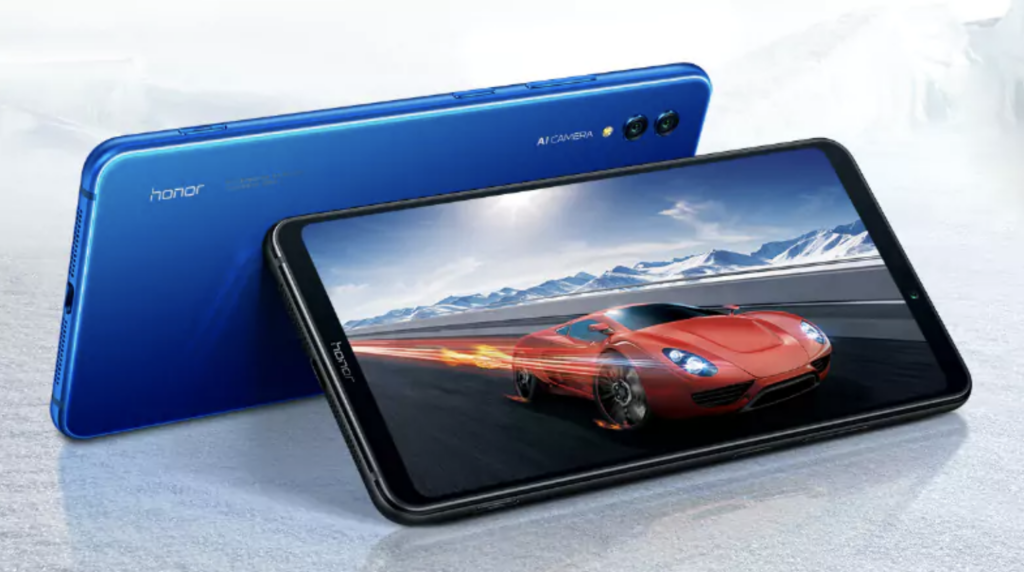
- Hold down the power volume-down buttons for a couple of seconds.
- Scroll down the notification panel, switch to Shortcuts, and tap the Screenshot icon.
Lenovo
- Hold down the power volume-down buttons for a couple of seconds.
- Scroll down the notification panel and tap the Screen Shot icon.
LG Phones
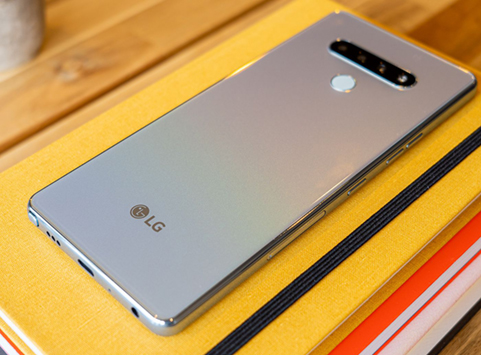
- G7: Press and hold the power volume-down buttons for a couple of seconds.
- All other phones: Hold the power (located on the back of the phone) volume-down buttons for a couple of seconds.
- Scroll down to the notification panel and tap the Capture+ icon.
Motorola Phones
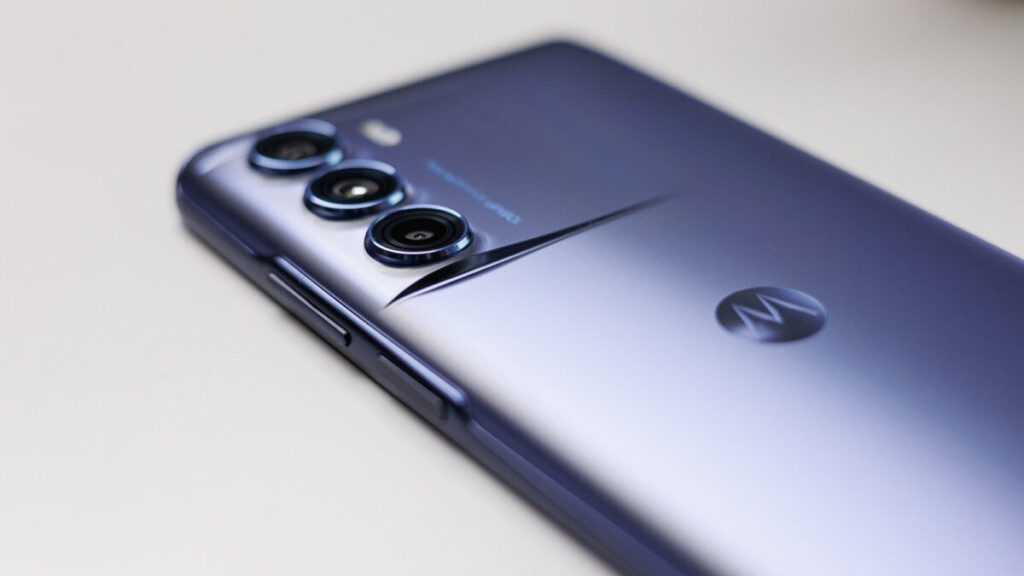
- Hold down the power and volume down buttons for a couple of seconds.
OnePlus Phones
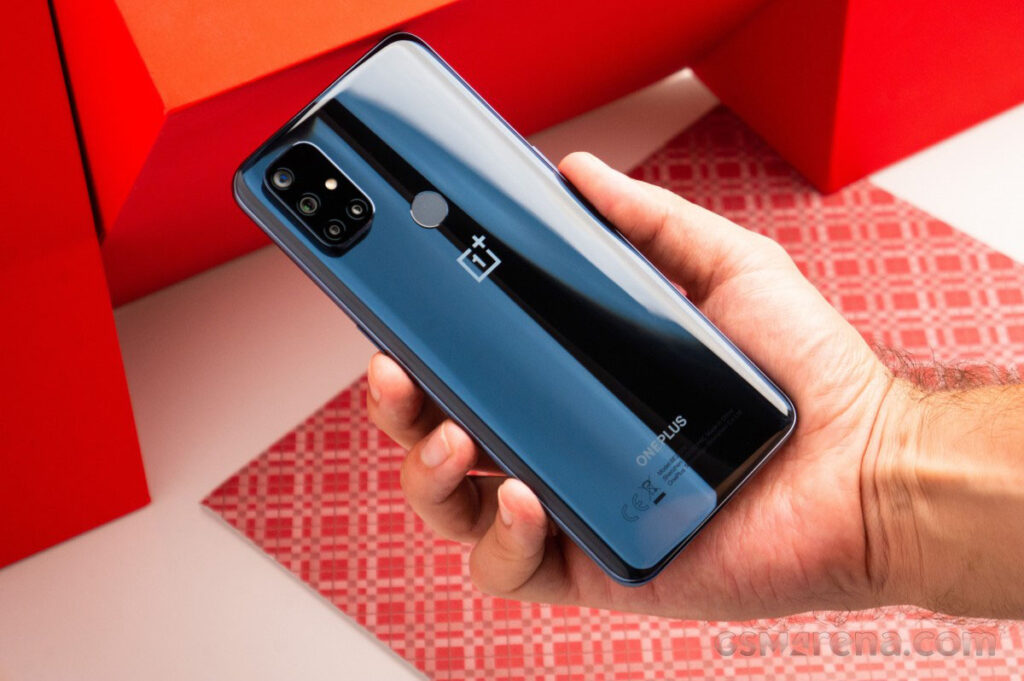
- OnePlus phones: Press hold the power volume-down buttons for a couple of seconds.
- OnePlus 5, 5T, 6: Swipe on the home screen with three fingers.
Samsung Phones
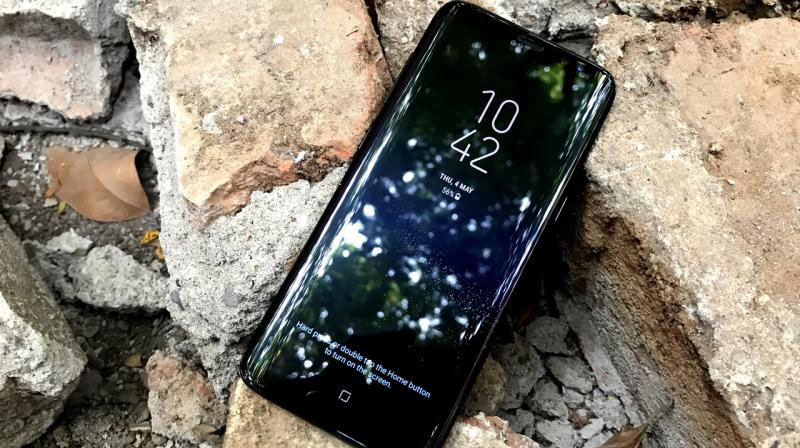
- Galaxy S8 later: Hold the power volume-down buttons for a couple of seconds.
- Galaxy S7 earlier: Hold the home power buttons for a couple of seconds.
Sony Phones
- Hold down the volume-down buttons for a couple of seconds.
- Hold the power key until a screen appears; tap to Take a screenshot.
ZTE Phones
- Hold down the power volume down buttons for a couple of seconds.
Assistant
On supported phones, you ask the Assistant to take a screenshot for you. On the screen, you want to snap, say, OK, take a screenshot. It will oblige, saving a picture of the screen below the Assistant interface. You want to capture the Assistant screen, use the hardware buttons.
Save and Share
You’ve snapped your screenshot; create a shortcut in the notification. Tap it you’ll be able to edit or share it.
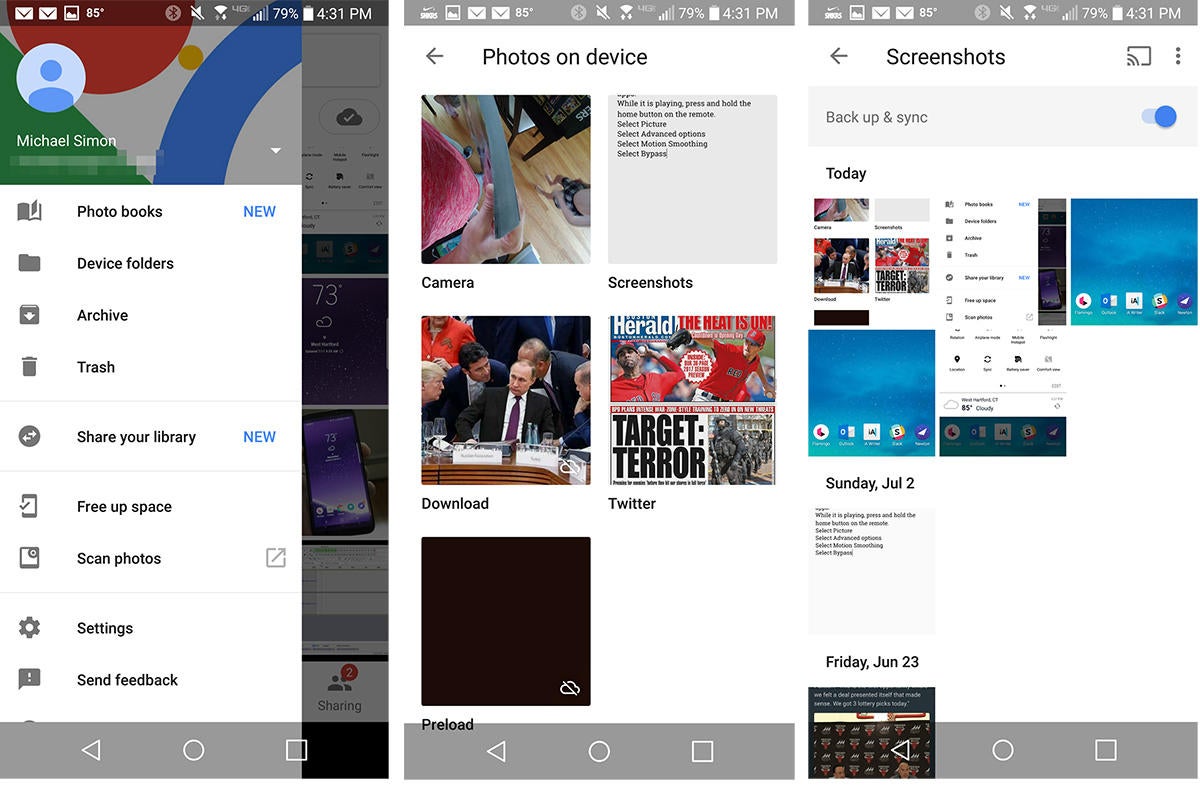
You can back up screenshots to photos and tell the phone to do so. Open the sidebar in images, the Device Folder. Tap Screenshots, flip the Backup & sync toggle. It will back up all your screenshots to your camera in photos.
Android Froyo Phones or Older
Taking a screenshot is arduous if you have a pre-Gingerbread Android 2.3 phone. Froyo users will need a USB cable and some Android know-how third-party software.
Install the Software
In the past, only developers were interested in capturing screenshots; you’ll have to act like one. Download and install the free Android SDK (software development kit). Visit the site, and be sure to get the correct version for your OS.
The software requires a java application. The Mac OS X has the right tools. For Windows, users should download the Splend Apps and apptech_Infotech. Install the Android SDK via downloads.
Launch the SDK Manager from the Android SDK download. In Windows, if prompted, choose Extract All. Accept the terms, and click to Install. The SDK will download packages and update itself with the latest files. This process can take about 30 minutes.
Launch DDMS (Dalvik Debug Monitor) within the Android SDK Tools folder. The software will open and then launch an interface in another window. If it quits, there seems to be an error initially, and it happened to me on a test, rerun the DDMS.
Open Application Settings and select the ADB debugging on the Android device. Connect the Android device to your computer.
Windows
In windows, go to the Device Manager if the Android doesn’t appear as a listing in the Dalvik Debug Monitor application. Right-click the Android device and select Update Driver Software. Choose to Browse my computer for driver software, click Browse, and navigate to the ADB driver folder within the Android SDK folder. Click Next. Approve the prompts to install the driver. Return to the Dalvik Debug Monitor; your Android is listed.
If your Android device fails to appear in the Dalvik Debug Monitor, verify that you set it for ADB debugging Mode. Drag the menu down from the top of the Android screen, and pick ADB connection. You’ll want ADB Mass Storage to be selected. I performed this on an Android X, which first set itself in SAFE Mode. Try SAFE Mode if the software isn’t finding your Android; that will solve the problem.
On your computer, click the phone icon in the upper-left section to select your Android. On the Android device, prepare for the moment you want to capture and click Save.
Get to the Root
You can shoot screenshots without hooking up to a computer if you’re a savvy Android user. You’ll have to root your phone.
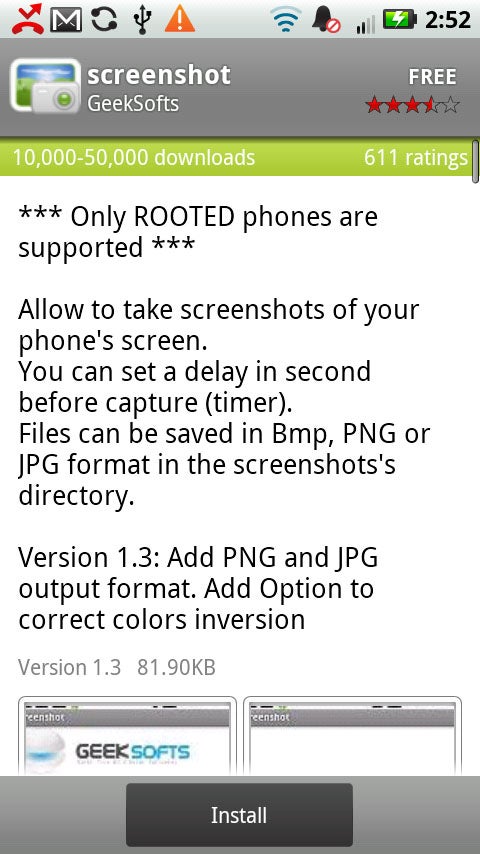
Android OS prevents screenshot apps from working as they muck with deeper permissions. The rooting process confers superuser abilities, permitting you to do anything you want.
After rooting, search the Android marketplace for various apps such as Screenshot. Activate screenshots with a timer or shake the phone; the app will capture your device.
Easy, right?
