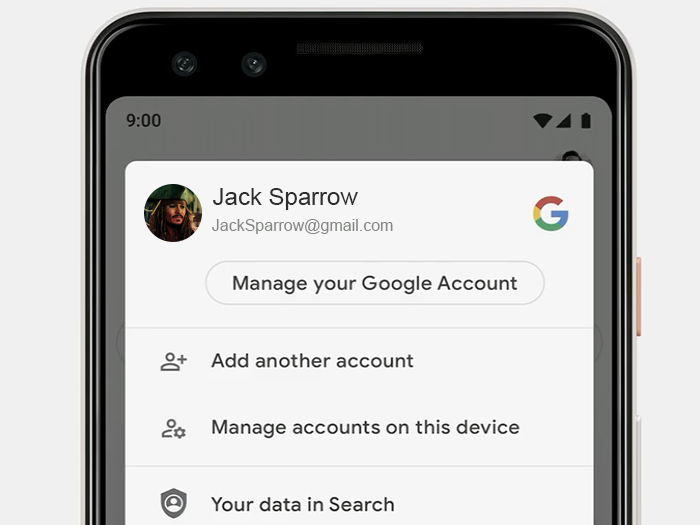
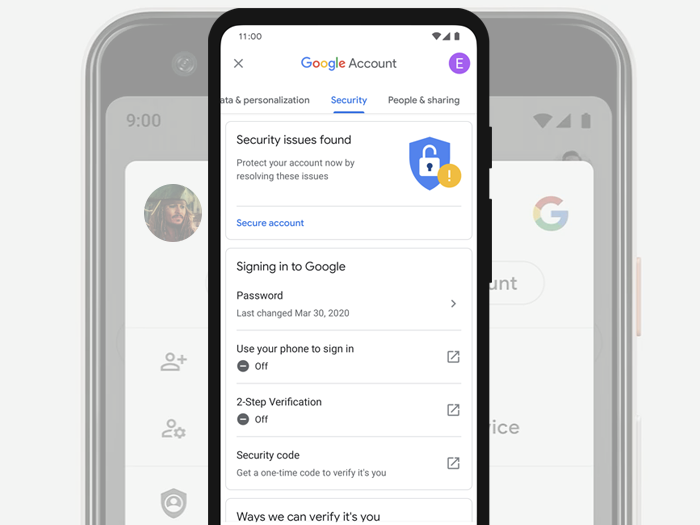
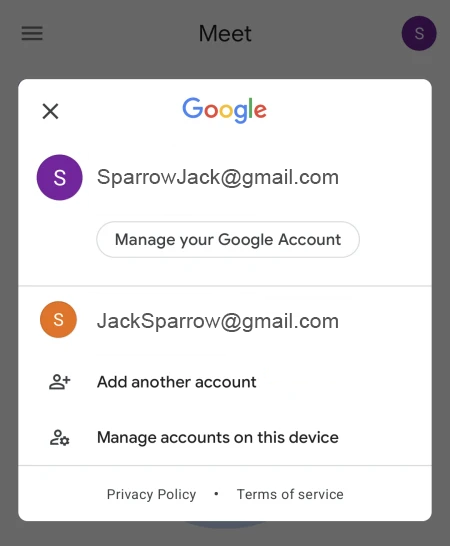
Everyone who owns an Android phone has an account. But many other apps on our phones require their own login credentials. The longer you have your phone, the more they can pile up. Your app drawer is filled with services that may or may not be tied to an account.

But you don’t have to open each app to manage them. Whether you want to add, remove, or tweak one of your accounts. Android has built a way to do it right inside the Settings app. Let us show you how to do it.
The Accounts tab in Settings holds the keys to all online accounts on your phone.
Under the Personal tab in Settings, you’ll find an option for Accounts. This is separate from the tab, where you’ll find a lot of preferences related to how your account operates on your device. Accounts keep a running list of your social media, storage, and email accounts on your phone. It gives you the power to delete them and control their background activities.

Open the tab, and you’ll instantly see a list of apps with active accounts. Other email addresses are linked to the appropriate client. For instance, they will show as separate windows if you use Newton Mail or Gmail to manage your iCloud storage.
These two screens might look the same, but the Add Account page includes any apps that are not linked to an account.

Your Apps
At the bottom of the list, you’ll find an Add account button, which does what you’d expect it to do. Tap it, and you’ll get a list of all the apps on your phone that require an account, so you can link a new one or add another to Facebook, Twitter, Gmail, etc.
Select one of the apps in the list, then go to the respective login page; log in with your new username. The button, which takes you to the Play Store account page, also manages your Google account. Here you handle, update, offer, and use to download all apps. When you return to the Accounts page, all the accounts are in the active list.
You can adjust the sync settings for individual apps or turn them off entirely in the Account tab.
Manage Settings
Along with adding accounts, you can also manage how much data each uses in the background. Every app has its own sync settings, so you’ll be able to manage any that may be draining the battery. Most provide a simple on/off switch. Some offer a permission controller. Which allows you to change the UI and logic for a specific purpose within the app. You can also turn off auto-sync entirely by tapping the three dots in the top-right corner and unchecking the Auto-sync.
You’ll have to visit the individual apps to change your password or turn on 2-factor authentication. You can still use the menu or Home screen to remove any dormant or compromised accounts. If you want to delete an account, tap the app icon and select the account. Press the menu button in the top right corner. In the drop-down menu, select Remove account, confirm it, and it’ll instantly disappear from your phone.
If you want to eliminate an account entirely.
Repeat that process for any account you want to remove from your phone. However, remember that this method only unlinks the account. To uninstall the app completely, hold the icon, and move it to uninstall or the Remove area at the top of the screen.


