Almost a year after its release, Android OEMs have finally started warming up to Marshmallow’s Adoptable storage feature. Motorola, however, has adopted this feature right from its early days on all its devices, and things have remained the same under the company’s new management from Lenovo. The company’s latest handset, the Moto E3 Power, is no different here.
Featuring 16GB of internal storage, the Moto E3 Power also features a microSD card slot. With an SD card installed, one can easily move apps, games, and other content to the external storage. Adoptable storage, however, can be a bit confusing for a novice smartphone user. This is because moving apps and games to SD card on Marshmallow is not as simple as inserting a card into the phone, heading to the application manager and then moving apps to external storage. Nope, it requires a few more steps first.
While tedious, adoptable storage fuses the external storage with the internal storage of the device that leads to the overall device storage increasing. So, for example, if you insert a 32GB microSD card on the Moto E3 Power, the device storage section under Settings will show the handset as having 46GB of storage space after deducting the space lost for formatting and other system files.
If you have been wondering how to move apps to SD card on the Moto E3 Power, follow the steps below.
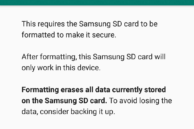
Step 1: Switch off your Moto E3 Power and insert a microSD card into it. Once your device boot into Android, you should get a notification saying an incompatible SD card has been inserted into the phone. Tap this notification to start the process of setting up the SD card on your Moto E3 Power and select Use as internal storage followed by Erase and format.

If you did not get any notification once your phone booted back into Android, it means that the inserted SD card was of proper format. Nonetheless, you will still have to format the card once again for Marshmallow’s adoptable storage feature to work. Head over to Settings -> Storage & USB. You should see the card you just inserted under ‘Portable storage.’
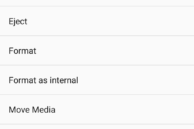
Step 2: Tap on its name to open the built-in file manager. Tap the 3-dot overflow menu button followed by Settings. From the menu that opens, select the Format as internal option followed by Erase and format.
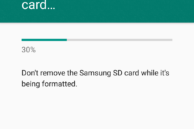
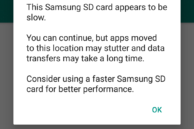
Step 3: Depending on the size of the SD card inserted, the whole process can take as much as up to 5 mins. Once done, you might get an error message that the SD card you have inserted is too slow that can lead to the performance of the phone and the installed apps being affected.
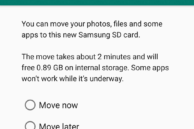
Step 4: You will also get an option to migrate your existing data from internal storage to external storage once the SD card is setup. Doing this will move photos and videos to the SD card, and NOT app data. You still need to move the latter manually.
Once the process is complete, head over to Settings -> Storage & USB and you will notice that the total device storage has now increased to include the size of the SD card as well. It will be slightly lower than the total i.e. if you insert a 64GB card, it will not show up as 16+64 = 80GB, but around 70GB once you factor in the space that is lost to formatting and taken by Android OS itself.
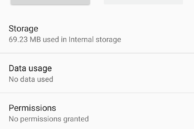
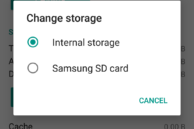
Step 5: To move apps and games to SD card, head over to Settings -> Apps. Now, select the app that you want to move to SD card. Tap on Storage and select Change from under Storage used. Finally, select the SD card and confirm your selection by tapping Move. Depending on the size of the app or game and the speed of the SD card, the whole process can take a minute or two.
If you have not already purchased a microSD card with your Moto E3 Power, make sure to buy one that is at least Class 10 rated.
Remember that to use the same SD card on other devices, you will have to format it again. It will also not be recognised by your PC so you cannot directly transfer files to it.

